很久前就配置过环境,但是用的2018.3,那时候还不是Vitis,现在都什么版本了,早该重新来试试,就按着已有的记忆,赶紧整理,配置环境,安装各种软件,以及简单的驱动开发笔记,算是温故而知新了.
安装Ubuntu就不用多说了,这个还不会就有点离谱了,我选择的是Ubuntu 22.04,因为要匹配Vivado版本,所以这个其实是不能乱选的哦,内存至少分配16G,硬盘分500G勉强够用了.
Ubuntu安装配置nfs服务器.
sudo apt install nfs-kernel-server
mkdir ~/nfs
添加NFS目录配置到/etc/exports来配置nfs共享目录.
/home/taterli/nfs *(rw,sync,no_root_squash)接着重启nfs服务器.
sudo systemctl start nfs-kernel-server安装PYNQ相关环境包,链接 => https://support.xilinx.com/s/article/73296
其中pylint3改成pylint,因为后面这个软件包改名了,另外还要安装libtinfo5,因为Vivado依赖他.
直接运行他就是,最后还要修改成bash提供shell环境.
sudo dpkg-reconfigure dash # 选择No接着直接安装PetaLinux和Vivado,配置License就行.
total 3.2G

drwxr-x---  3 taterli taterli 4.0K Sep 29 20:02 .

drwxr-x--- 18 taterli taterli 4.0K Sep 30 06:29 ..

-rwxr-x---  1 taterli taterli 3.2G Sep 29 11:13 petalinux-v2023.1-05012318-installer.run

drwxr-xr-x  8 taterli taterli 4.0K May 10 18:15 Xilinx_Unified_2023.1_0507_1903
安装
./petalinux-v2023.1-05012318-installer.run -d ~/petalinux
cd Xilinx_Unified_2023.1_0507_1903
./xsetup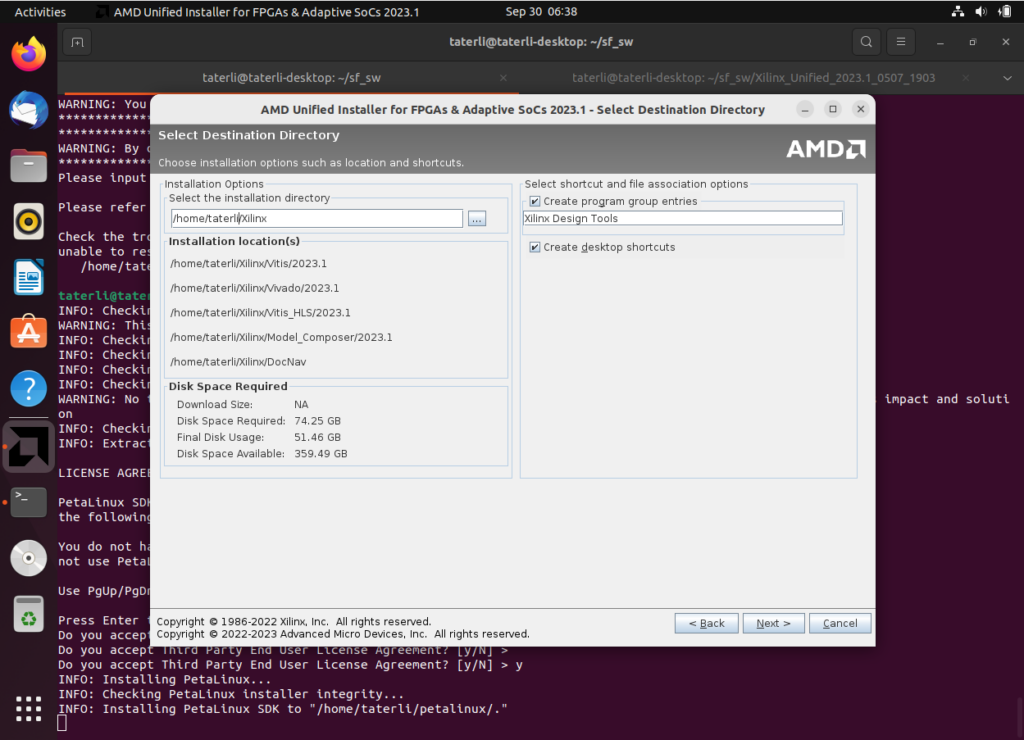
为了让PetaLinux方便运行,还要安装tftp服务器.
sudo apt install tftp-hpa tftpd-hpa -y
sudo mkdir -p /tftpboot
sudo chmod 777 /tftpboot
修改配置文件/etc/default/tftpd-hpa
# /etc/default/tftpd-hpa
TFTP_USERNAME="tftp"
TFTP_DIRECTORY="/tftpboot"
TFTP_ADDRESS=":69"
TFTP_OPTIONS="-l -c -s"
最后重启tftpd.
sudo systemctl restart tftpd-hpa下次执行这一句就进入PetaLinux环境了.
/home/taterli/petalinux/settings.sh安装驱动要手动进行,因为需要root权限嘛,安装时候是普通权限.
cd /home/taterli/Xilinx/Vivado/2023.1/data/xicom/cable_drivers/lin64/install_script
sudo ./install_drivers/install_drivers
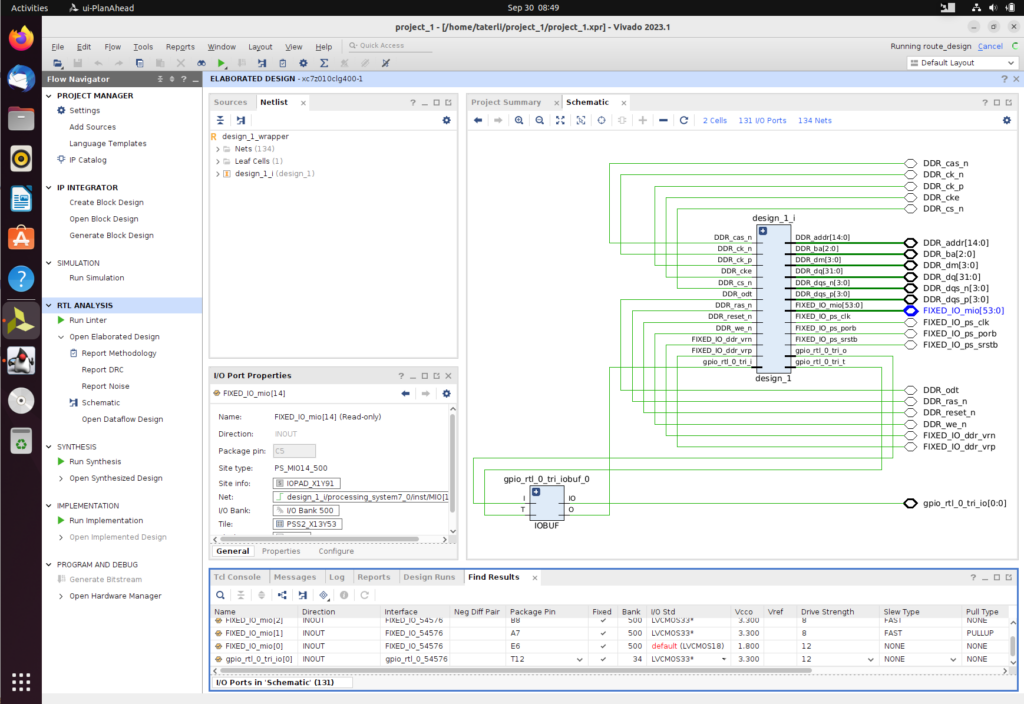
安装配置到是很容易,最后创建工程试一试,简单来说就是DDR配置后,PL随便插个AXI GPIO测试一下就行.
创建配置构建PetaLinux工程.
taterli@taterli-desktop:~$ source /home/taterli/petalinux/settings.sh
PetaLinux environment set to '/home/taterli/petalinux'
WARNING: This is not a supported OS
INFO: Checking free disk space
INFO: Checking installed tools
INFO: Checking installed development libraries
INFO: Checking network and other services
taterli@taterli-desktop:~$ petalinux-create -t project --template zynq -n petalinux_project_1
INFO: Create project: petalinux_project_1
INFO: New project successfully created in /home/taterli/petalinux_project_1
taterli@taterli-desktop:~$ cd petalinux_project_1/
taterli@taterli-desktop:~/petalinux_project_1$ petalinux-config --get-hw-description ../project_1/
[INFO] Sourcing buildtools
[INFO] Getting hardware description...
INFO: Renaming design_1_wrapper.xsa to system.xsa
[INFO] Extracting yocto SDK to components/yocto. This may take time!
[INFO] Generating Kconfig for project
[INFO] Menuconfig project
[INFO] Generating kconfig for rootfs
[INFO] Silentconfig rootfs
[INFO] Adding user layers
[INFO] Generating machine conf file
[INFO] Generating plnxtool conf file
[INFO] Generating workspace directory
[INFO] Successfully configured project
taterli@taterli-desktop:~/petalinux_project_1$
下次还需要修改配置还可以用petalinux-config重新进入.
petalinux-config
petalinux-config -c rootfs
petalinux-config -c kernel
配置设备树文件
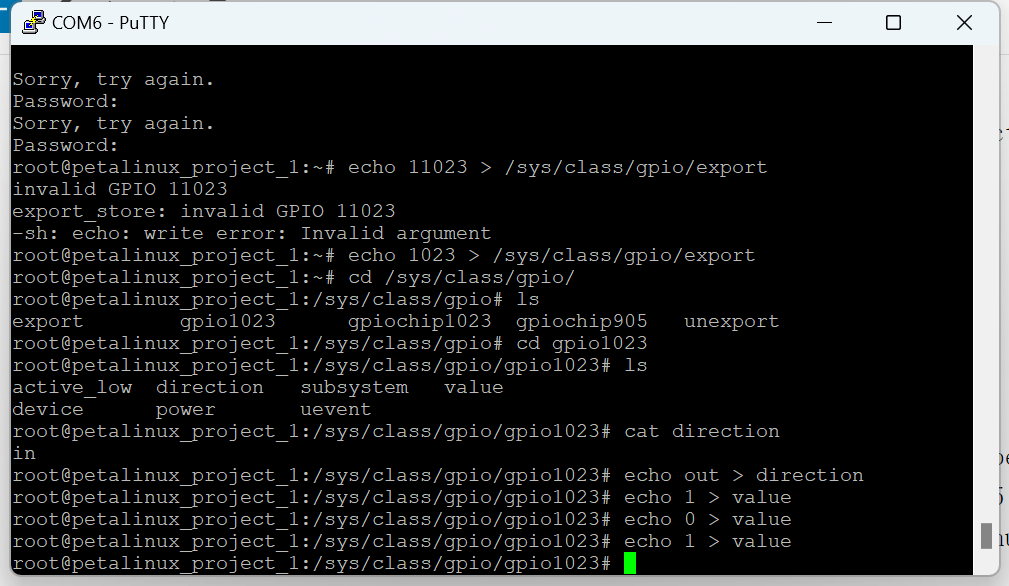
vim project-spec/meta-user/recipes-bsp/device-tree/files/system-user.dtsi简单配置一下AXI GPIO.
/include/ "system-conf.dtsi"

#include <dt-bindings/gpio/gpio.h>

/ {
    model = "Zynq ECO Development Board";
    compatible = "xlnx,zynq-zc702","xlnx,zynq-7000";

    leds {
        compatible ="gpio-leds";

        act-led {
            label = "act";
            gpios = <&gpio0 54 GPIO_ACTIVE_HIGH>;
            linux,default-trigger ="heartbeat";
        };
    };
};
最后构建.
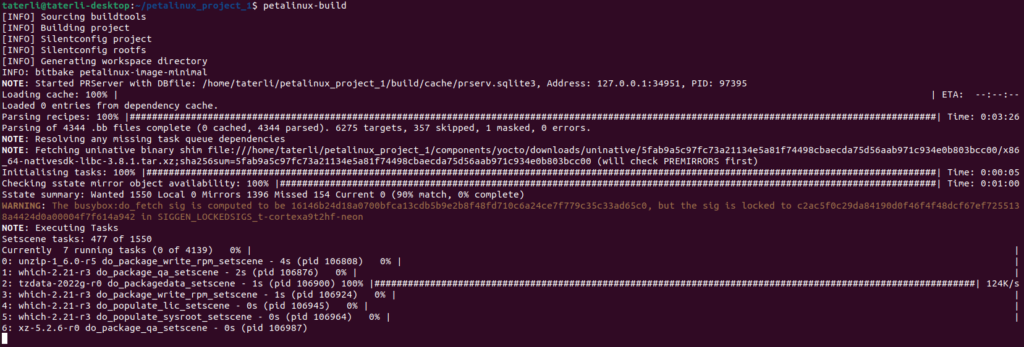
petalinux-build构建需要比较久,耐心等待.
然后就可以打包启动了.
[INFO] Successfully built project
taterli@taterli-desktop:~/petalinux_project_1$ petalinux-package --boot --fsbl --fpga --u-boot --force
[INFO] Sourcing buildtools
INFO: File in BOOT BIN: "/home/taterli/petalinux_project_1/images/linux/zynq_fsbl.elf"
INFO: File in BOOT BIN: "/home/taterli/petalinux_project_1/project-spec/hw-description/design_1_wrapper.bit"
INFO: File in BOOT BIN: "/home/taterli/petalinux_project_1/images/linux/u-boot.elf"
INFO: File in BOOT BIN: "/home/taterli/petalinux_project_1/images/linux/system.dtb"
INFO: Generating zynq binary package BOOT.BIN...


****** Bootgen v2023.1
  **** Build date : Apr  7 2023-10:18:04
    ** Copyright 1986-2022 Xilinx, Inc. All Rights Reserved.
    ** Copyright 2022-2023 Advanced Micro Devices, Inc. All Rights Reserved.

[WARNING]: Partition zynq_fsbl.elf.0 range is overlapped with partition design_1_wrapper.bit.0 memory range
[WARNING]: Partition design_1_wrapper.bit.0 range is overlapped with partition system.dtb.0 memory range

[INFO]   : Bootimage generated successfully

INFO: Binary is ready.
taterli@taterli-desktop:~/petalinux_project_1$
之后制作TF卡镜像,就可以启动了,通常,他会提供image.ub,但是这样确实不放在再开发,开发期间还是希望他是ext4或者tftp boot比较好.但是目前先行启动吧.至于TF卡分区,可以参照这样来配置.
Disk /dev/sdb: 15 GiB, 16106127360 bytes, 31457280 sectors
Disk model: SD Card Reader
Units: sectors of 1 * 512 = 512 bytes
Sector size (logical/physical): 512 bytes / 512 bytes
I/O size (minimum/optimal): 512 bytes / 512 bytes
Disklabel type: dos
Disk identifier: 0x8e8cbf9d

Device     Boot   Start      End  Sectors  Size Id Type
/dev/sdb1  *       2048  1026047  1024000  500M  c W95 FAT32 (LBA)
/dev/sdb2       1026048 31457279 30431232 14.5G 83 Linux
复制启动必须的文件.
taterli@taterli-desktop:~/petalinux_project_1/images/linux$ cp BOOT.BIN boot.scr image.ub /media/taterli/boot/
启动成功,总体来说感觉从2018.3过来也没什么不适,当然这还是比较简单的操作.